
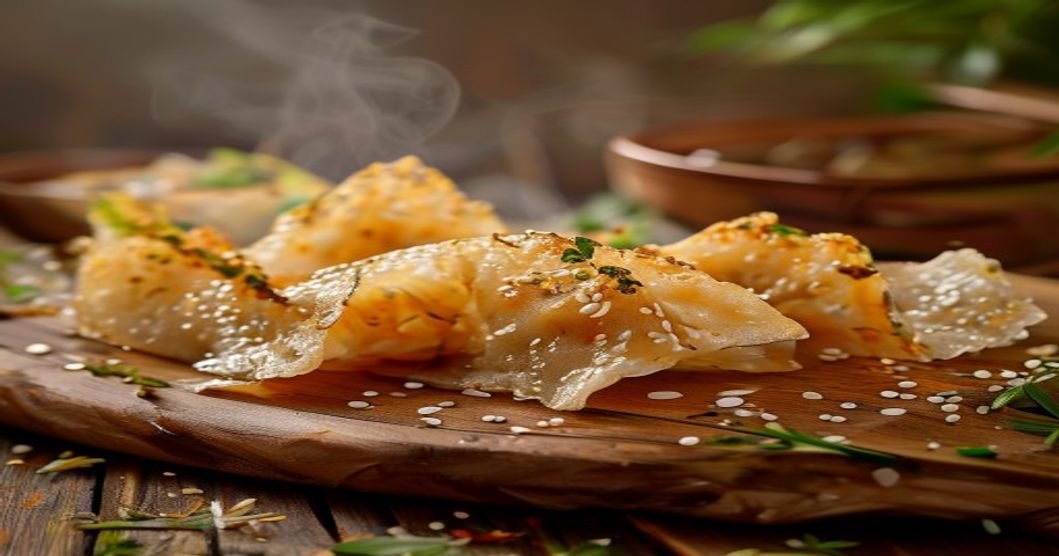
Crispy Rice Paper Dumplings (Vegan & Gluten-Free)
Discover crispy rice paper dumplings—vegan, gluten-free, and packed with flavor! A lighter, plant-based twist on traditional dumplings with a satisfying crunch.
If you’re looking for a delicious, plant-based alternative to traditional dumplings, these Crispy Rice Paper Dumplings are a game-changer. Not only are they vegan and gluten-free, but they also deliver a satisfying crunch with every bite. Made with rice paper wrappers, these dumplings are lighter than their wheat-based counterparts while still packing plenty of flavor. Whether you’re catering to dietary restrictions or simply exploring new culinary horizons, this recipe is a must-try.
In this guide, we’ll walk you through everything you need to know to make the perfect crispy rice paper dumplings at home. From ingredient selection to frying techniques, we’ve got you covered. Let’s dive in!
Why Choose Rice Paper Dumplings?
Rice paper dumplings are an excellent choice for several reasons:
- Gluten-Free: Rice paper is naturally gluten-free, making it ideal for those with celiac disease or gluten sensitivities.
- Vegan-Friendly: Unlike traditional dumplings that often contain meat or eggs, rice paper dumplings can easily be made with plant-based fillings.
- Light and Crispy: Rice paper becomes delightfully crispy when fried, offering a unique texture that’s hard to resist.
- Versatile: You can fill these dumplings with a variety of ingredients, from vegetables to tofu, allowing for endless creativity.
- Easy to Find: Rice paper wrappers are widely available in Asian grocery stores and many supermarkets.
Ingredients You’ll Need
To make these crispy rice paper dumplings, you’ll need the following ingredients. Don’t worry—most of them are pantry staples or easy to find!
For the Dumpling Wrappers:
- 10-12 rice paper wrappers (spring roll wrappers work too)
- Water (for dipping)
For the Filling (Vegan & Gluten-Free):
- 1 cup finely shredded cabbage
- 1 carrot, julienned or finely grated
- 1/2 cup mushrooms, finely chopped (shiitake or cremini work well)
- 1/2 cup firm tofu, crumbled or finely diced
- 2 cloves garlic, minced
- 1 tbsp fresh ginger, grated
- 2 green onions, finely chopped
- 1 tbsp soy sauce or tamari (ensure gluten-free if needed)
- 1 tsp sesame oil
- 1/2 tsp black pepper
- 1 tbsp cornstarch (to bind the filling)
For Frying:
- Neutral oil (such as vegetable, canola, or peanut oil) for frying
For Serving (Optional):
- Sweet chili sauce
- Soy sauce or tamari
- Sriracha or chili garlic sauce
- Fresh cilantro or Thai basil
Step-by-Step Instructions
1. Prepare the Filling
Start by preparing your filling to ensure all the flavors meld together beautifully.
- In a large bowl, combine the shredded cabbage, carrot, mushrooms, tofu, garlic, ginger, and green onions.
- Add the soy sauce, sesame oil, black pepper, and cornstarch. Mix well until everything is evenly coated.
- Let the filling sit for 10-15 minutes to allow the flavors to develop. This step is crucial for achieving a well-seasoned filling.
2. Soften the Rice Paper Wrappers
Rice paper wrappers can be a bit tricky to work with if you’re not familiar with them. Here’s how to handle them like a pro:
- Fill a large, shallow dish with warm water. The water should be deep enough to submerge the rice paper wrappers.
- Dip one wrapper into the water for about 5-10 seconds, or until it becomes pliable but not overly soft. It should still hold its shape.
- Carefully remove the wrapper from the water and place it on a clean, damp kitchen towel. This prevents it from sticking to your work surface.
3. Assemble the Dumplings
Now comes the fun part—assembling your dumplings!
- Place about 1-2 tablespoons of filling in the center of the softened rice paper wrapper.
- Fold the sides of the wrapper inward, then roll it up tightly, similar to how you’d roll a burrito. Ensure the filling is fully enclosed to prevent leaks during frying.
- Repeat with the remaining wrappers and filling. If the wrappers start to dry out, cover them with a damp towel to keep them pliable.
4. Fry the Dumplings
Frying is key to achieving that irresistible crispy texture. Follow these steps for perfect results:
- Heat about 1 inch of oil in a deep skillet or frying pan over medium-high heat. The oil is ready when it reaches 350°F (175°C). You can test this by dropping a small piece of rice paper into the oil—if it sizzles and floats to the surface, the oil is hot enough.
- Carefully place 2-3 dumplings into the hot oil, ensuring they don’t overcrowd the pan. Fry for 2-3 minutes on each side, or until golden brown and crispy.
- Use a slotted spoon to remove the dumplings from the oil and transfer them to a paper towel-lined plate to drain excess oil.
- Repeat with the remaining dumplings, allowing the oil to return to temperature between batches.
5. Serve and Enjoy
Your crispy rice paper dumplings are now ready to be served! Here are a few serving suggestions:
- Drizzle with sweet chili sauce or soy sauce for a tangy kick.
- Garnish with fresh cilantro or Thai basil for a burst of freshness.
- Serve with a side of steamed vegetables or a light salad for a complete meal.
Tips for Success
Making crispy rice paper dumplings can be a breeze with these pro tips:
1. Keep the Rice Paper Pliable
Rice paper can dry out quickly, making it difficult to work with. To prevent this:
- Work with one wrapper at a time and keep the rest covered with a damp towel.
- Avoid over-soaking the wrappers in water, as they can become too soft and tear easily.
2. Seal the Dumplings Properly
To prevent the filling from leaking during frying:
- Ensure the edges of the rice paper are tightly sealed when rolling.
- If needed, use a small amount of water or cornstarch slurry to help seal the edges.
3. Maintain the Right Oil Temperature
Frying at the correct temperature is crucial for achieving crispy dumplings:
- Use a thermometer to monitor the oil temperature. If it’s too hot, the dumplings will burn on the outside before cooking through. If it’s too cool, they’ll absorb excess oil and become greasy.
- Adjust the heat as needed to maintain a steady temperature of 350°F (175°C).
4. Experiment with Fillings
Don’t be afraid to get creative with your fillings! Here are a few ideas to inspire you:
- Tofu and Kimchi: Add 1/2 cup of chopped kimchi to the filling for a spicy, tangy twist.
- Mushroom and Spinach: Swap the cabbage for spinach and add extra mushrooms for an earthy flavor.
- Thai-Inspired: Mix in lemongrass, lime zest, and Thai basil for a fragrant, aromatic filling.
5. Make Ahead and Freeze
You can prepare these dumplings ahead of time and freeze them for later use:
- Assemble the dumplings as directed, but do not fry them.
- Place the assembled dumplings on a baking sheet lined with parchment paper and freeze until solid.
- Transfer the frozen dumplings to a freezer bag or airtight container. Store in the freezer for up to 1 month.
- When ready to cook, fry the frozen dumplings directly from the freezer, adding 1-2 extra minutes to the frying time.