
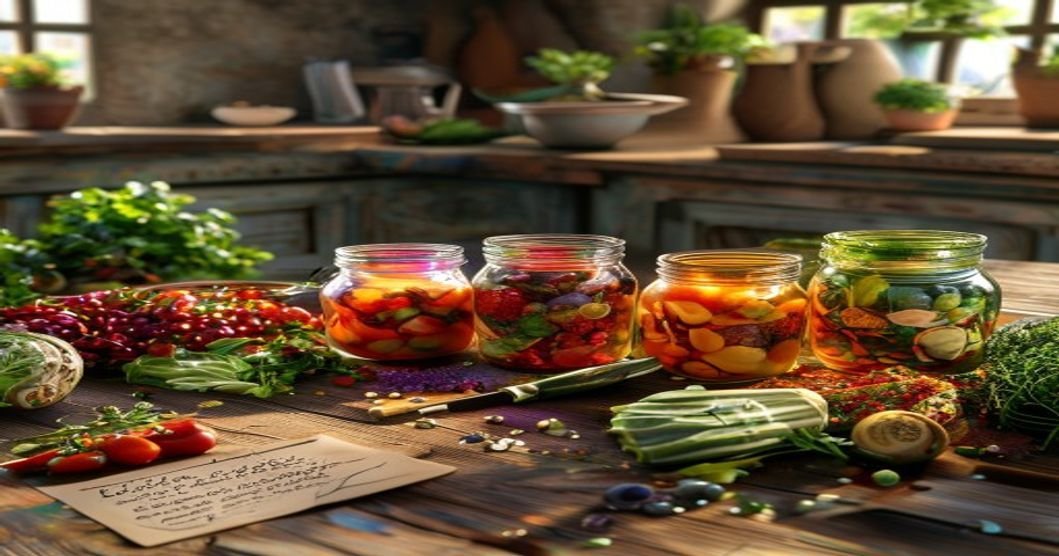
Fermented Foods 101: Easy Recipes to Start With
Have you ever bitten into a tangy slice of sauerkraut or sipped on a fizzy kombucha and wondered, “How do they make this?” The magic behind these foods isn’t just culinary skill—it’s fermentation, a process as old as time itself. Fermented foods are more than just a trendy health craze; they’re a gateway to better digestion, stronger immunity, and a deeper connection to the foods our ancestors thrived on. But where do you begin? If you’ve ever felt intimidated by the idea of fermenting at home, fear not. This guide will walk you through the basics, share simple recipes, and show you just how easy it is to bring the power of fermentation into your kitchen.
The Magic of Fermentation: Why You Should Care
Fermentation isn’t just about preserving food—it’s about transforming it. The process involves beneficial bacteria (probiotics) breaking down sugars and starches, creating not only unique flavors but also enhancing the food’s nutritional value. These probiotics are the superheroes of your gut, improving digestion, boosting immunity, and even lifting your mood. Studies have shown that a healthy gut microbiome can reduce inflammation, improve mental health, and even help with weight management.
But the benefits don’t stop there. Fermented foods are often easier to digest than their non-fermented counterparts. For example, lactose-intolerant individuals may find that fermented dairy products like yogurt or kefir are gentler on their stomachs. The fermentation process pre-digests many of the compounds that cause digestive discomfort, making these foods a fantastic addition to almost any diet.
Plus, fermentation is incredibly sustainable. By preserving food without the need for refrigeration or preservatives, you’re reducing waste and extending the shelf life of your groceries. It’s a win for your health, your wallet, and the planet.
Getting Started: The Basics of Fermentation
Before diving into recipes, it’s important to understand a few key principles of fermentation:
- Salt: Salt is crucial for creating the right environment for good bacteria to thrive while keeping harmful bacteria at bay. The amount of salt you use depends on the recipe, but a general rule of thumb is 1-3 tablespoons of salt per quart of water for brines.
- Starter Cultures: While many fermented foods rely on naturally occurring bacteria (like in sauerkraut), others may require a starter culture, such as whey (from yogurt or kefir), a sourdough starter, or a commercial probiotic powder. These help kickstart the fermentation process.
- Temperature: Fermentation thrives in a warm environment, typically between 68°F and 78°F (20°C and 25°C). Too cold, and the process slows down; too hot, and you risk harmful bacteria taking over.
- Time: Fermentation isn’t an overnight process. Some recipes, like quick-pickled vegetables, can ferment in a few days, while others, like kombucha or miso, take weeks. Patience is key!
- Equipment: You don’t need fancy tools to start fermenting. A clean glass jar, a fermentation weight (to keep food submerged), and a breathable cover (like a cloth or paper towel secured with a rubber band) are all you need to begin.
5 Easy Fermented Foods to Start With
Ready to roll up your sleeves? Here are five simple fermented foods that are perfect for beginners. Each recipe is beginner-friendly, requires minimal ingredients, and delivers big on flavor and health benefits.
1. Homemade Sauerkraut: The Gateway Ferment
Sauerkraut is one of the simplest fermented foods to make, and it’s incredibly versatile. You can enjoy it on its own, mix it into salads, or top your favorite sandwiches. Plus, homemade sauerkraut tastes worlds better than store-bought versions, which often lack the probiotic punch of the real deal.
Ingredients:
- 1 medium head of cabbage (green or red)
- 1-2 tablespoons of sea salt or kosher salt (non-iodized)
Instructions:
- Remove any outer leaves of the cabbage and set them aside. Quarter the cabbage and remove the core. Thinly slice the cabbage (a mandoline slicer works great for this).
- Place the sliced cabbage in a large bowl and sprinkle with salt. Begin massaging and squeezing the cabbage with your hands. After a few minutes, the cabbage will start to release its juices. This can take 5-10 minutes of work.
- Pack the cabbage tightly into a clean glass jar, pressing down to ensure the liquid covers the cabbage completely. If there isn’t enough liquid, you can add a bit of filtered water mixed with a pinch of salt.
- Tuck one of the reserved cabbage leaves on top of the shredded cabbage to keep it submerged. This prevents mold from forming on the surface.
- Cover the jar with a breathable cover (like a cloth or paper towel) and secure it with a rubber band. Store it at room temperature, out of direct sunlight.
- Check the sauerkraut daily. You may see bubbles forming within a few days, which is a sign that fermentation is underway. Taste it after 3-5 days. If you like the flavor, transfer the jar to the fridge to slow down the fermentation. If you prefer it tangier, leave it out for another day or two.
Tip: Don’t be alarmed if you see a white film or bubbles forming on top. This is normal! Just skim off any scum that appears, and your sauerkraut will be fine.
2. Quick-Pickled Vegetables: Crunchy, Tangy, and Fast
If sauerkraut feels like a big commitment, quick-pickled vegetables are the perfect way to dip your toes into fermentation. These require just a few hours to develop flavor, making them ideal for when you’re craving something tangy ASAP.
Ingredients (choose one or mix and match):
- 1 cup of thinly sliced carrots, radishes, cucumbers, or green beans
- 1 cup of filtered water
- 1 tablespoon of sea salt
- 1 teaspoon of honey or sugar (optional, to feed the bacteria)
- 1 clove of garlic, sliced (optional)
- 1 sprig of fresh dill or a pinch of dried herbs (optional)
Instructions:
- Pack your chosen vegetables into a clean glass jar.
- In a separate bowl, mix the water, salt, and honey (if using) until the salt dissolves. Pour the brine over the vegetables, ensuring they are fully submerged. Add garlic and herbs if desired.
- Cover the jar with a breathable cover and let it sit at room temperature for 4-12 hours. The longer it ferments, the tangier it will become.
- Once you’re happy with the flavor, transfer the jar to the fridge to slow down the fermentation. These pickles will keep for up to a month.
Tip: For extra crunch, slice your vegetables thinly and pack them tightly into the jar. If you notice any fizzing or bubbles when you open the jar, that’s a sign that fermentation is working!
3. Simple Yogurt: Creamy, Probiotic-Rich Goodness
Yogurt is one of the easiest fermented foods to make at home, and it’s a fantastic way to introduce probiotics into your diet. The best part? You can customize it to your taste, from thick and tangy to lightly sweetened with fruit.
Ingredients:
- 1 quart (4 cups) of milk (whole milk works best for creaminess, but any milk will do)
- 2 tablespoons of plain yogurt with live cultures (this acts as your starter)
Instructions:
- Heat the milk in a saucepan over medium heat until it reaches 180°F (82°C). This step kills any unwanted bacteria and denatures the proteins for a thicker yogurt. Stir occasionally to prevent scorching.
- Let the milk cool to about 110°F (43°C). You can speed up the cooling process by placing the pot in a bowl of ice water.
- Once cooled, whisk 2 tablespoons of the starter yogurt into the milk until fully combined.
- Pour the mixture into a clean glass jar and cover it with a lid or cloth. Place the jar in a warm spot, such as an oven with the light on or a yogurt maker, and let it ferment for 6-12 hours. The longer it ferments, the tangier it will become.
- Once the yogurt has reached your desired tanginess, transfer it to the fridge to halt the fermentation. It will thicken further as it cools.
Tip: Save a bit of your homemade yogurt to use as a starter for your next batch. Just remember to make a fresh batch every few weeks to keep the cultures strong.
4. Ginger Beer: A Fizzy, Probiotic Drink
Ginger beer isn’t just a delicious mixer—it’s a fermented beverage packed with probiotics and a spicy kick. Unlike commercial ginger ale, which is often loaded with sugar and artificial flavors, homemade ginger beer is naturally effervescent and lightly sweet.
Ingredients:
- 1/2 cup of grated fresh ginger
- 1/2 cup of sugar (or honey)
- 4 cups of filtered water
- Juice of 1 lemon
- 1/4 teaspoon of champagne yeast or baking yeast (optional, for extra fizz)
Instructions:
- In a saucepan, combine the grated ginger, sugar, and water. Bring to a boil, then reduce the heat and simmer for 10 minutes. Remove from heat and let it cool to room temperature.
- Strain out the ginger pieces and stir in the lemon juice. If using yeast, sprinkle it over the mixture and stir gently to combine.
- Pour the ginger mixture into a clean glass jar or flip-top bottle. Seal the container and let it ferment at room temperature for 1-3 days. The longer it ferments, the more carbonation it will develop.
- Once it’s fizzy to your liking, transfer it to the fridge to slow down the fermentation. Serve chilled over ice or mix it into cocktails.
Tip: For a non-alcoholic version, skip the yeast and let the natural sugars in the ginger create carbonation through wild fermentation. This process takes longer (3-5 days) but results in a tangier, more complex flavor.
5. Easy Kombucha: The Trendy Fermented Tea
Kombucha has taken the health world by storm, and for good reason. This fermented tea is packed with probiotics, antioxidants, and organic acids that support gut health. While store-bought kombucha can be pricey, making it at home is surprisingly simple and cost-effective.
Ingredients:
- 1 gallon of filtered water
- 1 cup of sugar
- 8-10 black or green tea bags
- 2 cups of store-bought or homemade kombucha (this acts as your starter)
- 1 SCOBY (Symbiotic Culture Of Bacteria and Yeast), which you can obtain from a friend or purchase online
Instructions:
- Brew a strong batch of tea by steeping the tea bags in 4 cups of boiling water for 10 minutes. Dissolve the sugar in the hot tea, then let it cool to room temperature.
- Once cooled, pour the sweet tea into a large glass jar or fermentation vessel. Add the remaining 4 cups of filtered water and the starter kombucha.
- Gently place the SCOBY into the jar. It may float or sink—both are fine. Cover the jar with a breathable cloth or paper towel and secure it with a rubber band.
- Let the kombucha ferment at room temperature for 7-14 days. The longer it ferments, the less sweet and more tangy it will become.
- Once it’s ready, carefully remove the SCOBY and set it aside for your next batch. Pour the kombucha into bottles, leaving about an inch of headspace. Seal the bottles and let them sit at room temperature for 1-3 days to build carbonation.
- Refrigerate the bottled kombucha to halt the fermentation. It will keep for up to a month.
Tip: Flavor your kombucha by adding fruit, herbs, or spices before the second fermentation. Popular choices include ginger, berries, or citrus slices. Just be sure to burp your bottles daily to release excess pressure and avoid explosions!
Tips for Fermentation Success
Fermentation is forgiving, but a few best practices can help you avoid common pitfalls and ensure delicious results every time.
- Cleanliness is key: Always use clean, sanitized equipment to prevent contamination. Wash your hands thoroughly before handling fermented foods.
- Keep it submerged: Mold thrives on exposed surfaces, so make sure your fermented foods are fully submerged in liquid. Use a fermentation weight or a smaller jar filled with water to press down on the food.
- Trust your senses: If something smells off (think rotten or putrid), discard it. A slight sour or yeasty aroma is normal, but anything unpleasant is a red flag.
- Start small: If you’re new to fermentation, begin with small batches. This way, if a batch doesn’t turn out, you won’t have wasted too much time or ingredients.
- Experiment with flavors: Fermentation is all about creativity. Try adding different spices, herbs, or fruits to your ferments to keep things exciting.
Why Fermentation is Worth the Effort
In a world where processed foods dominate, fermentation offers a way to reconnect with the natural processes that have nourished humans for centuries. It’s a practice that’s good for your gut, your taste buds, and the planet. Plus, there’s something deeply satisfying about creating your own food from scratch—especially when that food is as alive and vibrant as a jar of sauerkraut or a bottle of fizzy ginger beer.
So, why not give it a try? Start with one of the recipes above, and soon you’ll be hooked on the tangy, probiotic-rich world of fermentation. Your gut (and your taste buds) will thank you.
Your Fermentation Journey Starts Now
Fermented foods are more than just a health trend—they’re a return to tradition, a celebration of flavor, and a step toward better well-being. Whether you’re crafting a batch of sauerkraut, brewing a ginger beer, or experimenting with kombucha, you’re joining a global community of food lovers who believe in the power of fermentation.
So, grab a jar, pick a recipe, and let the magic of fermentation begin. Who knows? You might just discover your new favorite hobby—and a whole new world of flavors.
Happy fermenting!
What’s the first fermented food you’re going to try? Share your thoughts in the comments below!
Related reading
- The Secret Ingredient Missing from Your Avocado Toast
- The Secret Ingredient Missing From Your Vegan Mac & Cheese
- Yogurt Sauce Everything: 10 Ways to Use It